Category Archives: Encryption

We take a look at Elcomsoft iPhone Password Breaker… Its Good

Elcomsoft are a Russian based software company, who make excellent security and audit products. Perhaps the name doesn’t ring a bell, but I am sure if you look at their product offerings you will be more than familiar with their products.

I first heard about Elcomsoft around 2002 I think it was when I needed to do some password recovery for some Office documents, and a colleague had a copy and it did its magic and we had a happy user. Ever since then I have kept the site bookmarked and keep a check on it every now and again.

Fast forward to 2010 and I find myself looking at iPhones and their suitability for use in the corporate world, and then I hear again about Elcomsoft releasing an iPhone Password Breaker (EPPB). So here we are, reviewing this product, and seeing just how it works and if it does what it says on the tin.

At the time of writing the professional version is advertised at £199 and the home version at £79. To see the difference between the version, please see the end of the review, or click here to visit the Elcomsoft site.

Thanks to the guys at Elcomsoft for letting me have a copy to review, and for helping resolving any issues I came across on the way.

So first things first, the EPPB requires a Windows Platform, so I fired up an XP SP3 VM, and a physical W7 box to do some GPU based testing.

Once its installed we need to get hold of our encrypted iPhone backup. So the main file we are looking for is the Manifest.plist file, however if you will want to look at the keychain info you will want the complete contents of the appropriate folder.

When iTunes takes a backup of your iPhone it will include your settings files, from the preferences library, and databases, such as your calls, notes, bookmarks, password etc.

So if your on a Mac you need to look here > /Library/Application Support/MobileSync/Backup
On a PC you need to look here > Documents & Settings\\Application Data\Apple Computer\MobileSync\Backup or Users\\AppData\Roaming\Apple Computer\MobileSync\Backup

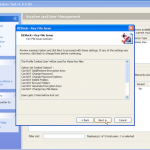
So once you have located your encrypted backup its time to fire up the password breaker and point it at the file in question. You will see the details of the device once you have selected it. We can see in this example the backup is that of an iPhone 4.

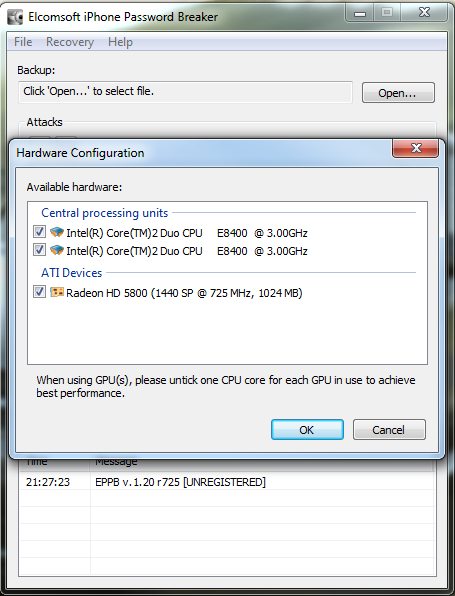
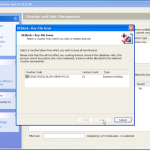
Now we have our file selected, lets make sure we are using the right hardware. So now we can enable / disable our CPU and GPU options.

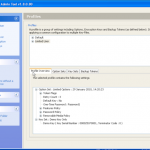
So now the hardware is selected, we are almost ready to get cracking 🙂 Now we just need to decide how we are going to go about it. We can use dictionary based attacks and supply files with the information (although it does come with some) or we can configure some brute force settings.

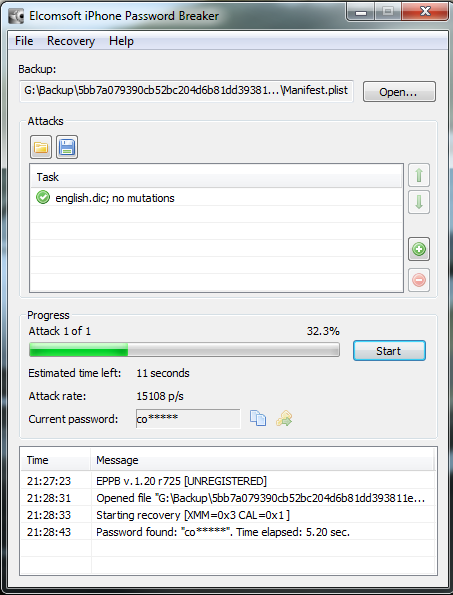
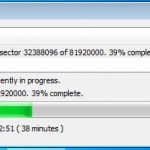
So now we are all configured, and lets face it, its all easy and straight forward. Now we kick off the cracking and watch the speed.

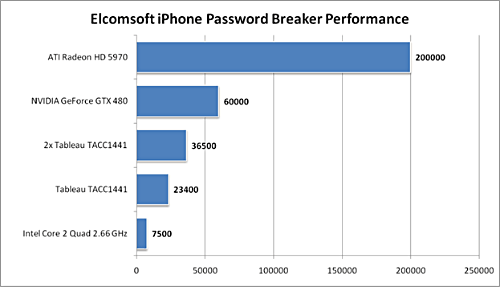
In the image below I am using a dual core Intel 3Ghz processor and a ATI Radeon 5880. As you can see its 15,108 passwords a second, not to shabby at all. My quickest crack was a 7 character dictionary password that was popped in 2.33 secs, GPU for the win. I also tried just a 64Bit Athlon 3Ghz on its own, and it only did 102 passwords a second, I also tried a 2.8Ghz Dual Core Intel in a VM and saw about 300 passwords a second, I then finally tried a cheaper GPU, a NVIDIA 8800 GTX and this provided the power to crunch 3,804 passwords a second.

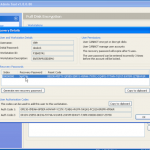
So now we have the password for this backup. We can now open the file in iTunes and complete a restore if we had forgotten the password. Or we can launch the keychain explorer and have a look at the information stored within the backup from the iPhone, as well as exporting the contents to an XML file.

Obviously I have sanitised the screen shot as it contains information I dont want to share, but you are going to see details of services used, usernames and passwords, access point information and access passwords, phone numbers and more.

So you may be thinking this is all good, but why is this tool of interest to me. Well first of all, as I have mentioned before many organisations are looking at, and are deploying iPhones. Out of the box they are not an enterprise ready tool and require 3rd party enterprise tools. So you get a call from you user, the iPhone needs restoring, they dont want to lose their information so they want to restore from the backup. Fine, however they have forgotten their password. So now you have an option to recover with this tool.

Next is the addition of gathering this information as part of a penetration test, or even a social engineering engagement. Obviously you need to get the files off the users machine, not the iPhone itself. I don’t need to tell you guys the ways this is possible. If your feeling really lazy, you may want to check file sharing networks, people share all sorts.

If you are a file sharing network user, please check you are not sharing your entire hard disk, and if you are…. STOP IT.

To conclude I think this is a tool worth having if your organisation is offering the use of iPhones, and it also has a place in your pentesting toolkit. For more information check out Elcomsofts website, and read below for some more information on the tool itself.

Elcomsoft iPhone Password Breaker enables forensic access to password-protected backups for iPhone, iPhone 3G, iPhone 3GS, iPhone 4, iPad, and iPod Touch 1st, 2nd, and 3rd Gen devices. Featuring the company’s patent-pending GPU acceleration technology, Elcomsoft iPhone Password Breaker is the first GPU-accelerated iPhone/iPod password recovery tool on the market. The new tool recovers the original plain-text password that protects encrypted backups containing address books, call logs, SMS archives, calendars, camera snapshots, voice mail and email account settings, applications, Web browsing history and cache. The program is also able to read and decrypt keychains (saved passwords to mail accounts, web sites and 3rd party applications) from password-protected backups (if password is known or recovered).

  • Gain access to information stored in password-protected iPhone and iPod Touch backups
  • Recover the original plain-text password
  • Read and decrypt keychain data (email account passwords, Wi-Fi passwords, and passwords you enter into websites and some other applications)
  • Save time with cost-efficient GPU acceleration when one or several ATI or NVIDIA video cards are installed
  • Hardware acceleration on Tableau TACC1441 hardware
  • Perform advanced dictionary attacks with highly customizable permutations
  • Perform offline attacks without Apple iTunes installed
  • Recover passwords to backups for original and ‘jailbroken’ iPhone, iPhone 3G, iPhone 3GS, iPhone 4, iPad, and iPod Touch 1st, 2nd, and 3rd Gen devices
  • Compatible with all versions of iTunes (incl. 10.0) and iOS (3 and 4, incl. 4.1)
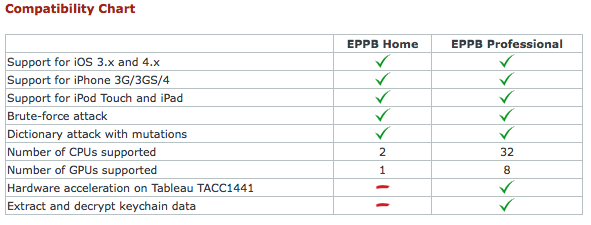
Elcomsoft iPhone Password Breaker supports Windows XP, Windows Server 2003, Windows Server 2008, Windows Vista or Windows 7 with x32 and x64 architectures. Password-protected backups to iPhone, iPhone 3G, iPhone 3GS, iPhone 4, iPad, and iPod Touch 1st, 2nd, and 3rd Gen devices are supported.

DESlock+ Enterprise Review

Last year (2009) I got a call about reviewing a Full Disk Encryption product called DESlock+. I had not heard of the product, so a quick search later and more information was revealed. As encryption is an import consideration for users at home and within an organisation, and I had been looking at a few vendors for my day job I thought it would be some time well spent, and may be of use to some of you guys.

DESlock+ Enterprise is the product I am going to be look at, and its made by a company called DES. DES were founded in 1985, and the companies systems and methods originated within the British Government Communications Headquarters. The original users of DES products were government based, but over time have spread into other sectors. Over the past twelve years DES has also marketed the DESkey and DESlock range of software protection products. With an estimated 500,000 units in use throughout the world to date, sales of the DESkey continue to grow.

  • Full Disk Encryption
  • Removable Media Encryption
  • Encrypt Email, folders and files
  • Multiple encryption keys stored in a keyfile
  • AES, 3DES, Blowfish Algorithms
  • Encrypted mountable files
  • Secure data shredder
  • Keyfile backup utility
  • Scalable centralised licence and key management
  • Remote keyfile distribution
  • Software feature policy control
  • Includes DESkey USB manager tokens

When reviewing encryption products its can often be a difficult task. Lets face it the most important thing an encryption product can do is encrypt, if it doesn’t do that then we are in a pretty bad situation. So you will be happy to hear DESlock+ does encrypt and it works in a no nonsense way so with that in mind we are off to an excellent start.

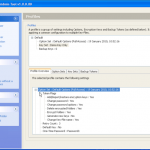
To speed up my review Jamie Gordon (excellent guy) sent me a Windows 7 Virtual Machine with the DESlock product pre-installed, as like everyone getting the time to have a look at a product can be difficult. So the starting situation is essentially this. We have a Windows 7 client machine that has DESlock+ installed, and connecting back to DES HQ. The client gets its policy applied when we start up and authenticate for the first time, and we have various options available to us, but the Full Disk encryption has not yet been applied, our friend Jamie takes care of that for us remotely later.

I have a hell of alot of screenshot, about 120 or so, obviously I don’t want to post all of these, so as part of this review I will give an overview of whats going on, various configuration and functional options. I can tell you now the best thing for me about DESlock+ is it does what it says on the tin, with no fuss, and you don’t need to be a rocket scientist to configure your policy and get it up and running. I will basically show the shredder options, encrypting individual files, removable media and of course full disk encryption.

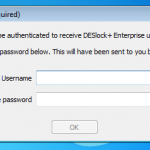
So to get things started we boot up our VM. Its important to remember that normally in an enterprise environment you would normally be logging onto a domain, however in this example this is not the case. So any credentials are not resolved from my domain credentials, its needs to be done manually. So I need to authenticate myself with the DESlock+ Enterprise Server using a one time password to get things started.

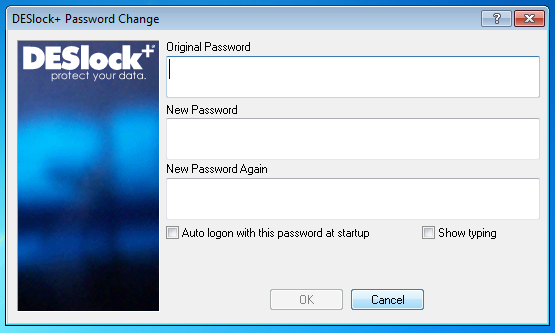
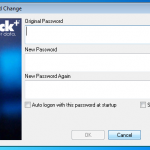
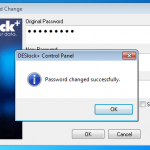
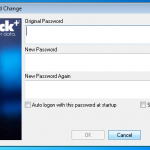
Once authenticated we need to change the password.

So now we are presented with the Desktop to go about our daily duties. Its worth noting we have the features of DESlock+ available to us now, but we have not yet had our hard disk encrypted.

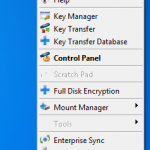
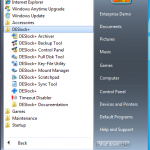
So everything looks as normal, although we have the DESlock+ Shredder, and a couple of new icons in the task bar.

I will add a picture montage at the end of this review that shows various screen shots, so if you want to know what happens when you look further at these properties you can check them out.

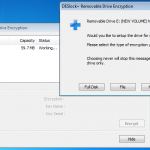
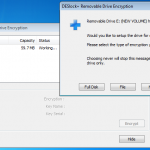
So lets see what happens when I plug in a USB stick (A Dell branded 64Mb in this case). DESlock+ detects the USB device and prompts to do its thing.

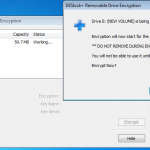
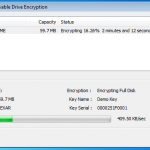
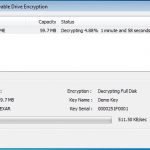
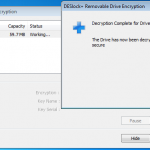
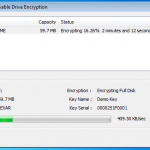
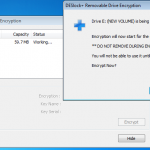
So lets kick off the removable device encryption.

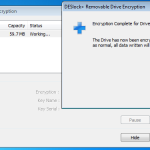
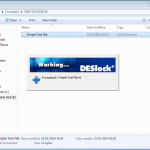
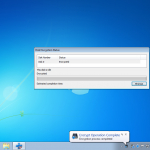
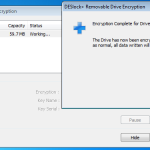
Encryption Completed.

Once the drive was encrypted a put a couple of files on there, ejected the drive and tried the stick on a windows machine, linux and Mac. All found the drive to be unreadable, so no chance at getting at that data. So good stuff.

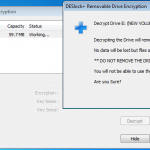
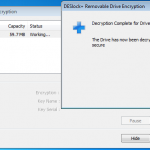
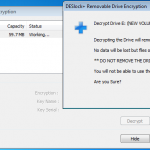
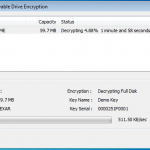
So next I decided to decrypt the drive, and then try just encrypting a single file.

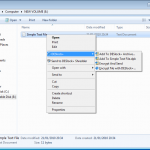
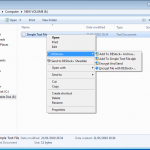
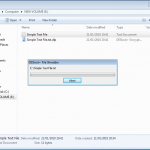
So now we create a file, and right click for our encryption options.

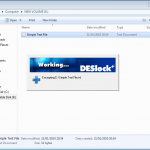
Once the file is encrypted the remainder of the stick was still usable, but as expected the encrypted file is not accessible. Obviously files can be encrypted like this locally, as well as on removable media. This allows for some versatile application, whilst ensuring control and protection over your data.

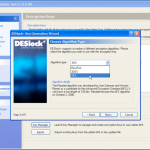
Of course for that little bit of additional protection its a good idea to securely erase files when your done with them, and this brings us along to the DESlock+ Shredder. You can choose how many passes you want to make when erasing the data, and choose between two methods.

So we know we can encrypt our files as needed, and we can securely erase them also. So the next thing to get sorted is obviously full disk encryption.

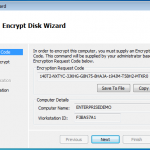
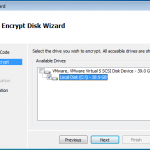
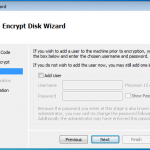
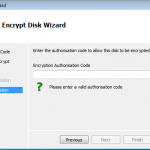
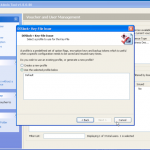
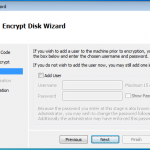
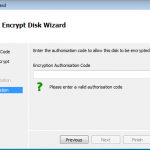
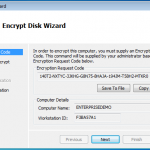
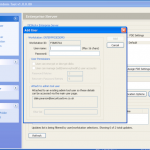
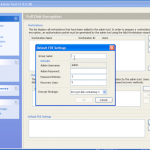
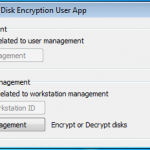
There is an option to encrypt using a local wizard, and an activation code you get from the administrator. I did have a look at this option as the screen shots below show. However I decided to go the remote route as this is an enterprise offering, and see how it works from the admin console.

As you can see above. If we had an authorisation code from our admin, we could kick off the full disk encryption ourselves.

So now lets take a brief look at what we see as an administrator from the DESlock+ Enterprise console.

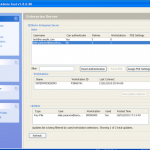
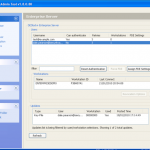
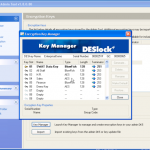
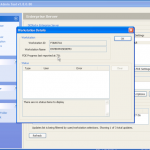
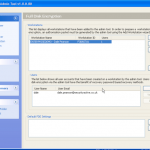
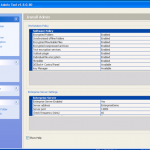
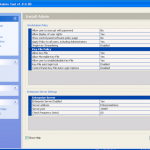
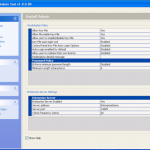
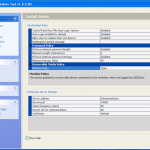
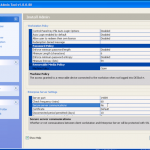
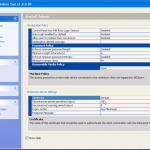
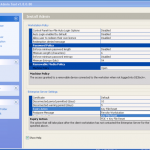
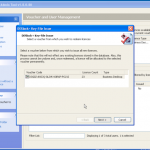
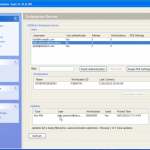
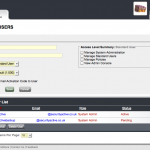
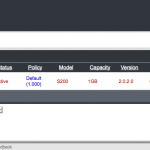
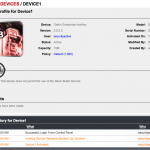
Once we are in the admin console we have access to the various configuration options. We have the ability manage both DESlock vouchers (these control what you can or cant do based on what you have purchased) and users of the system. From a day to day perspective this is probably where you will spend time verifying what accounts are created, active machines and so forth when your first getting set up. Then there is the profiles section, this does what it says on the tin. It allows the for creation, modification and assigning of encryption profiles. Next is the Enterprise server section, this shows the user details and associated machine, when they last connected, keyfiles in use etc. The full disk encryption section is fairly obvious, this where you manage the FDE of machines in your environment. We then have the encryption keys section, this is a useful section as you can create multiple encryption keys for different parts of your organisation, to give extra levels of control. Finally the install admin section, this pulls various information together to form a registry key that is applied as part of the product install on client machines.

I viewed this section remotely with the DES guys, so I didn’t have time to have a proper play myself, but I did take some snapshots that you can see towards the end of the review.

So whilst viewing remotely, Jamie kicked off my remote encryption of my VM machine. It worked a charm with no fuss. My machine connected with the remote server, downloaded configuration updates, and then started encrypting. I even rebooted mid encryption as a test and it resumed once logged in.

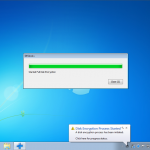
So here are a couple of snaps to show what’s going on at the client end.

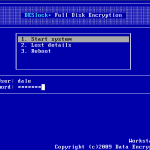
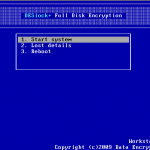
Now lets reboot.

Job Done 🙂

Wrap up and thoughts….

So we have gone through the motions, seen some screen shots, but is it actually any good. Personally yes I think it is. For me when it comes to encryption products it can be a difficult evaluation process, because lets face it if its encrypting our data in a secure method its ticking the box. I think what makes DESlock+ a good product is that its simple. I don’t mean that in a negative way at all, the product does what it says on the tin. It encrypts files, removable media, full disk encryption as well as emails and other bits and bobs I was not able to spend time in testing, and it does it in a professional no fuss approach. The menus and clear and simple to understand, policy configuration is easy and flexible, I like the fact you can use different encryption keys in different parts of the business, and for different users, this gives an extra level of access control. I like how easy it is to revoke access to encrypted files and devices in the event of loss, and I like the challenge response stuff for when people forget passwords and I like the secure deletion with the shredder.

I would certainly make organisations (especially SME’s) I work with aware of DESlock+ as well considering their similar home offering to family and friends who just want to encrypt files and don’t need FDE. However as with everything I had a few gripes with the product whilst reviewing. Its great that you can encrypt removable media, but its abit frustrating you cant share the content with non DESlock+ customers (they now have an offering for this coming soon), and I have seen some other products that allow custom configuration messages for users screens, this isn’t a major one for me but its a bonus sometimes. Lastly its my understanding that the product itself does not support distribution across the organisation, so you need to utilise some other tooling to package up and distribute DESlock+. None of this stops me thinking its a good tool, just sharing my thoughts. It is also worth noting the DESlock+ products only work on W2K upwards, so no support for Linux and OSX.

Since I have completed the review DESlock+ has been FIPS 140-2 validated, so congratulations and well done to the guys on that achievement. They have also made a product available called DESlock Reader which will allow non DES customers to decrypt emails, and files that have been encrypted with DESlock+ (obviously you will need to know a pre shared password to decrypt), this something that can be enabled or disabled at a policy level if you don’t want everyone having the ability to potentially share data outside the organisation. Another product is in the pipeline that should be out later this month, and this is DESlock+ Go. This product is all about encrypting removable media to share with 3rd parties in a secure manner. The 3rd party doesn’t need to install any software, it all runs from the encrypted package, and if its writable media such as a USB device, the 3rd party can even write data back to the device to share securely back with the original DES user. Finally they also have an MSI configuration in the pipeline that I think will help with the installation and distribution of the product, especially in larger enterprises.

For pricing your best of contacting DES yourself, but its my understanding the Home versions are about £45, which just provides secure file encryption (not FDE). Business Desktop licences start at around £75 for small numbers of licences and then decrease in cost as the number of users increases over 1000, and the Enterprise Server is about £250. Maintenance is also available at additional cost as needed.

Picture Montage


Secure USB Devices Vulnerable – Lists here…

This information might be about a week old now, but seeing as I have been going over the Enterprise and Personal offerings from Ironkey, I thought I would briefly touch on this newly found vulnerability, and what devices are currently known to be vulnerable.

So late Dec 2009 SySS produced a couple of papers detailing how they have managed to bypass the security on Sandisk and Kingston Secure USB storage devices. Basically they have designed a tool that produces a static unlock code to always unlock the affected devices. Its my understanding that this is possible due to a flaw in how the users passcode is verified on the PC and signaled to the device.

This is obviously a significant issue, and I know personally of many organisations that have deployed these devices in their organisations, and this will also include Government organisations as most of the devices are classified as FIPS 140-2 compliant.

So should you be worried, well yes if your using one of the following devices:

  • SanDisk Cruzer Enterprise FIPS Edition USB flash drive, CZ32 – 1GB, 2GB, 4GB, 8GB
  • Verbatim Corporate Secure FIPS Edition USB Flash Drives 1GB, 2GB, 4GB, 8GB
  • SanDisk Cruzer Enterprise with McAfee USB flash drive, CZ38 – 1GB, 2GB, 4GB, 8GB
  • SanDisk Cruzer Enterprise USB flash drive, CZ22 – 1GB, 2GB, 4GB, 8GB
  • SanDisk Cruzer Enterprise FIPS Edition with McAfee USB flash drive, CZ46 – 1GB
  • Kingston DataTraveler BlackBox (DTBB)
  • Kingston DataTraveler Secure – Privacy Edition (DTSP)
  • Verbatim Corporate Secure USB Flash Drive 1GB, 2GB, 4GB, 8GB
  • Kingston DataTraveler Elite – Privacy Edition (DTEP)

As I was looking at Ironkey devices at the time of all these, I have had confirmation from Ironkey that as far as they are aware they are not susceptible to this type of vulnerability due to the architecture used in their devices, and the fact that all verification occurs at the onboard hardware level.

Ironkey S200 Personal Review

I don’t wont to go over to much of what has already been covered by the Enterprise Review from last week. The main focus of this review is to demonstrate that you don’t have to be part of a large organisation to benefit from what the Ironkey has to offer, as the personal versions are great to. As I previously said I have been using Ironkeys for a while myself and these are personal devices.

Below will be a brief recap of what the Ironkey Personal is all about and how you go from opening the box, to secure storage and browsing.

Personal Version Specs:
Rugged Metal Casing
Waterproof
Tamper-Resistant
AES 256BIT Hardware Encryption
FIPS Validated 140-2 Level 3
Strong Authentication
Secure Browser / Portable Apps
Secure Password Management
Self Service Password Recovery

So you have just got your hands on your nice new shiny S200 Ironkey personal, you have popped open the nicely designed black box and popped it into your USB slot. The first step is to initialise your key.

Its important to give your Ironkey an appropriate name, so that you can easily identify it in your personal online console, because your going to want more than one at some point. The next one is to obviously select a strong passphrase. It might be AES256 bit encrypted, but using the password “password” isnt going to be that secure.

The part it to read through and accept or reject the T’s and C’s.

Once thats all out of the way the Ironkey will start doing its thing, encryption, configuring and installing.

As with the enterprise version, you need somewhere to keep track of your keys, backup your password for recovery, etc etc. So now you need to create online account, or if like me add your Ironkey to your existing account.


Now your account is setup, Ironkey will send you an email with an activation code. You will need to enter this into your online account, to setup and confirm association with your account and your Ironkey.

Now your good to go. You should find that the Ironkey control panel has also launched, and this gives you access to the various pre-installed application and services. Secure Firefox browser, password managers, update manager and more.


You will also notice there is an option to fill in some Lost and Found information. This is then displayed to anyone who inserts and attempts to activate the Ironkey. They can then contact you to make you aware of how foolish you were to lose your precious key 🙂

So thats pretty much you good to go. However I will add one thing, that seems to be very unclear when your looking around online. People seem to think for some reason you are unable to install new applications onto your Personal Ironkey. Well of course you can. I will quickly go through how to install Pidgin, and other applications should be the same.

First off head along to Portable Apps, and get yourself a copy of Pidgin.

You then simply install this to the secure files location on your Ironkey. Then from your Ironkey control panel right click on the applications screen and select add application.

Now select the Pidgin Executable in your secure storage location. Then Bob’s your uncle you have Pidgin good to go.

I hope this review was information and helpful to a few of you. For more information on Ironkey and where to buy one check out their website.

Ironkey S200 Enterprise Review

I am a probably a little biased, as I have been using a personal Ironkey 1GB S100 for some time now, and have recently got myself an 8GB S200 thanks to Don at The Ethical Hacker Network, so its clear I think they rock, and in my opinion I really do think they are the best secure USB Pen Drive on the market.

However I have never had any exposure to their enterprise offering, and with lots of companies now looking to adopt secure portable / removable media I think if Ironkey could be a good solution from a device perspective to help with data loss prevention. Ironkey have been kind enough to set me up with a temporary enterprise account, and sent me a couple of enterprise S200 1GB sticks to have a look how it all hangs together.

Before I get started, if you have never heard of Ironkey, let me just give you a little bit of info on what they are all about, and why in my opinion they are the 007 secure usb stick of choice, did I mention they look the business to 🙂

Enterprise Version Specs:
Rugged Metal Casing
Waterproof
Tamper-Resistant
AES 256BIT Hardware Encryption
FIPS Validated 140-2 Level 3
Strong Authentication
RSA SecureID / Verisign ID Protection
Secure Browser / Portable Apps
Self Destruction
Anti-Malware Protection

So on with the review. First we need an Ironkey Enterprise Account, and an Enterprise Ironkey, I was provided with both of these. When you get an Ironkey it comes in a little black box, once you have opened it up and plugged in the Enterprise Ironkey and the launcher is run, you are informed that you need to activate your Ironkey. (*Setup on a Mac)

To progress past this stage you will need an activation code that your Ironkey Enterprise would have setup for you through the console. This will result in you having received an email with your activation code.

So with that in mind we will go to the Enterprise Web Interface and get things setup (policies, preferences and accounts).
First we log in with our Enterprise Account number.

Now as its our first login we need to go through the 10 steps of getting our configuration setup that we are going to apply to all the Ironkeys in our enterprise.

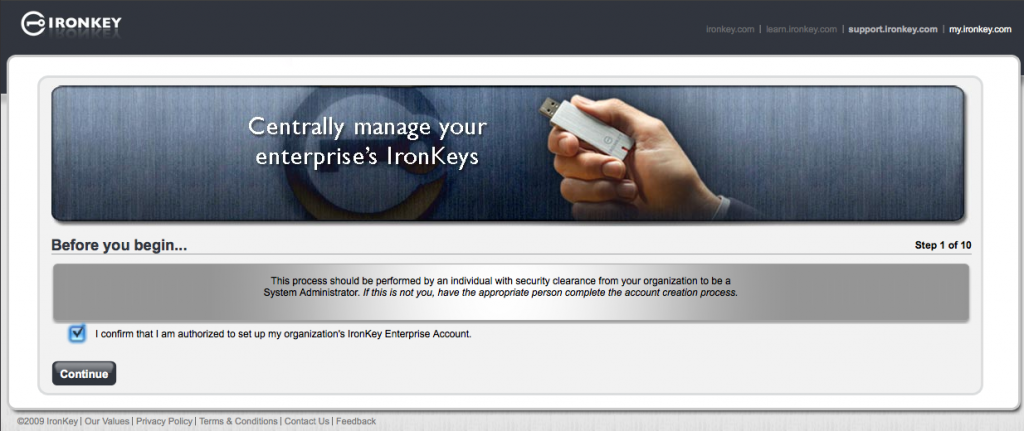
Step 1 – Make sure we are the right man for the job…. Check 🙂

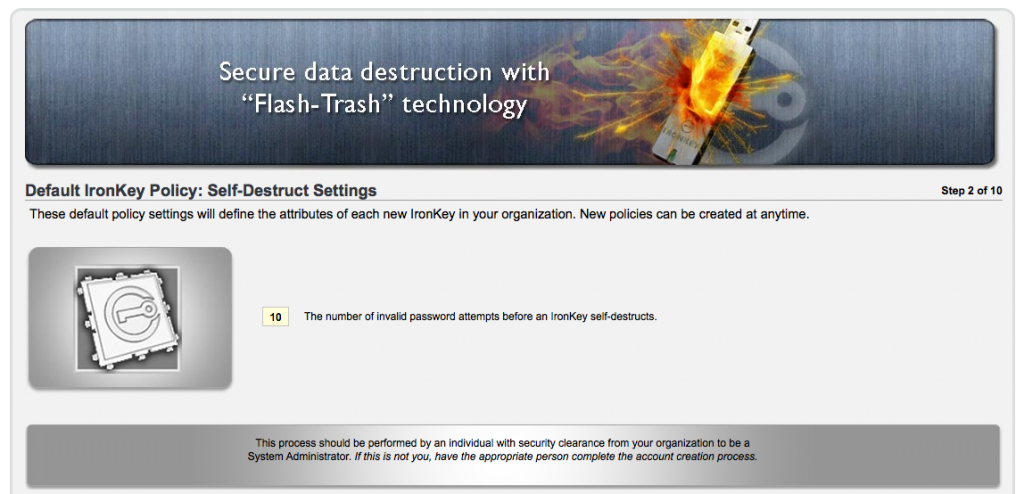
Step 2 – Now we need to define how many failed password attempts before the Ironkey self destructs. (Default is 10)
Its important to remember once destruction occurs, thats it. No undo or try again.

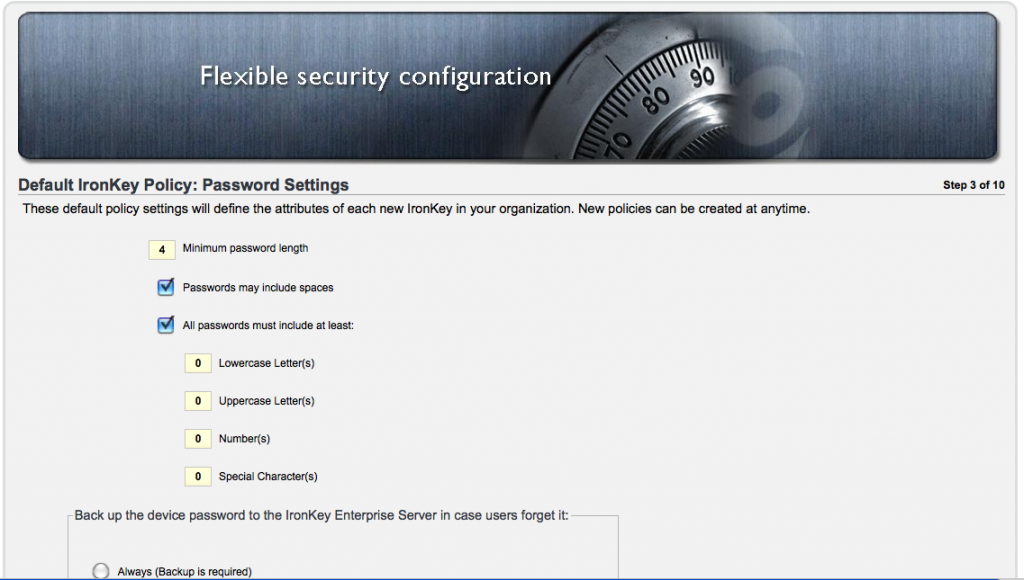
Step 3 – Now we define our password settings, complexity, and recovery settings.

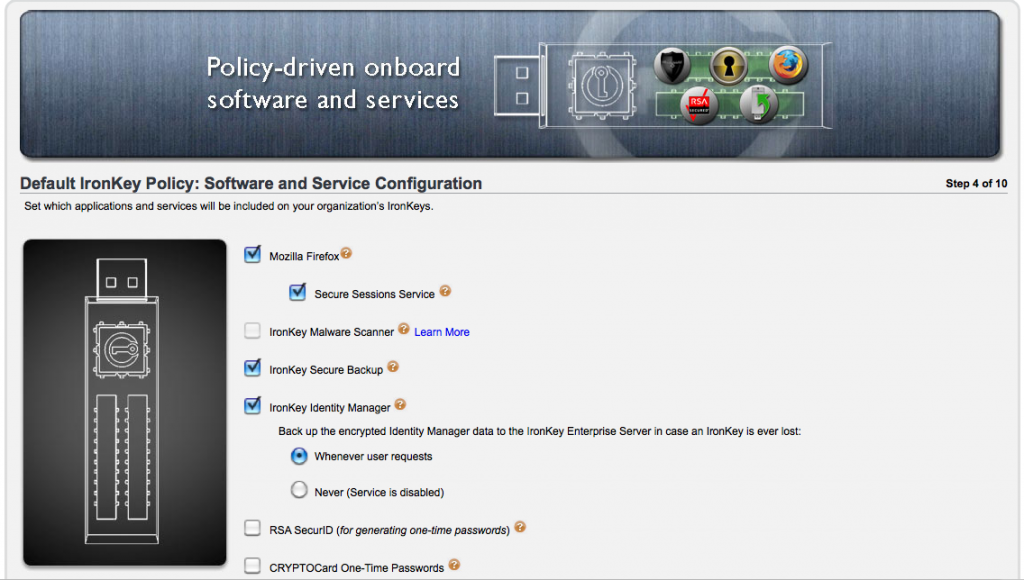
Step 4 – Now we setup the default applications available from the Ironkeys, Firefox, RSA, etc

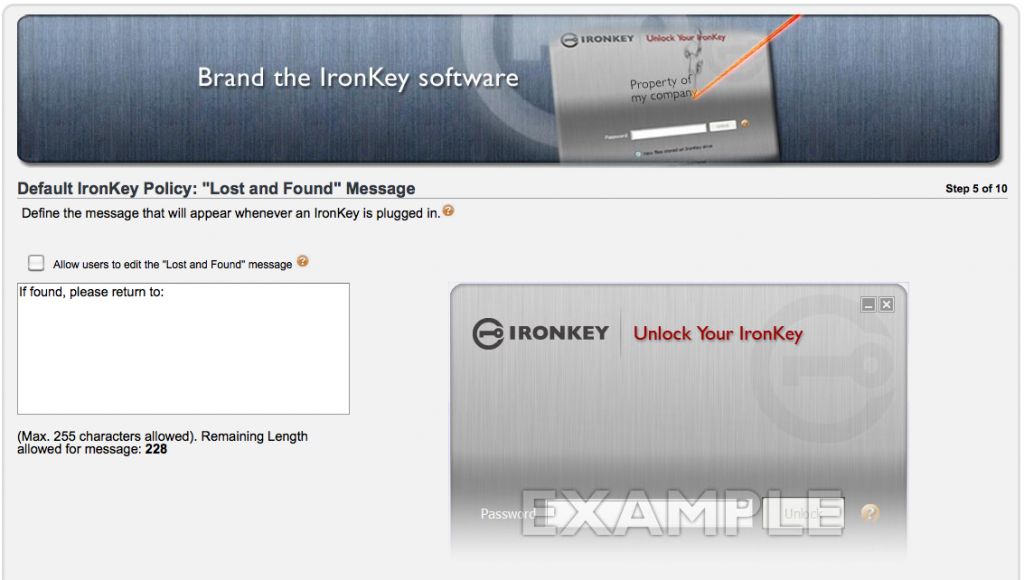
Step 5 – Its all about the Lost & Found. We can configure a message that will seen by anyone who inserts the Ironkey

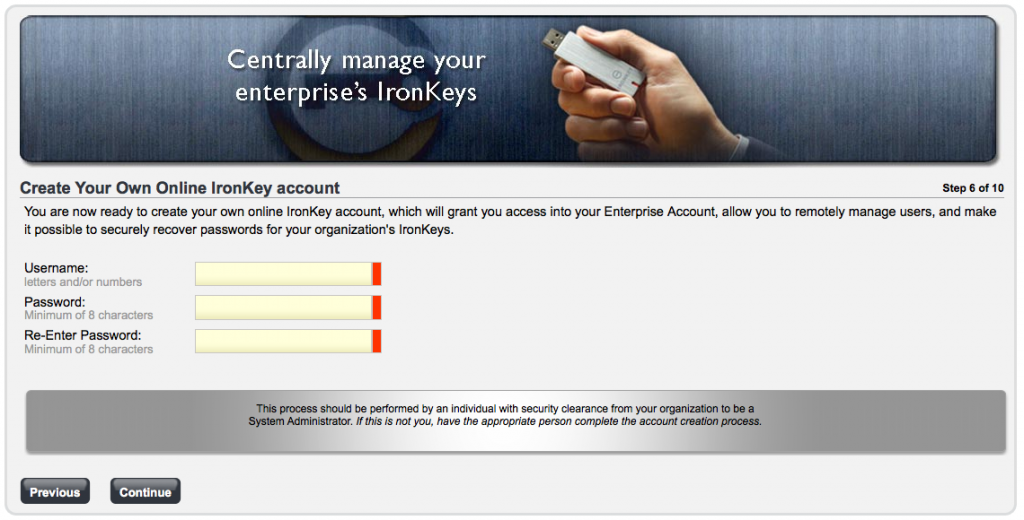
Step 6 – Now we setup the Enterprise Administrator Account, with a strong password.

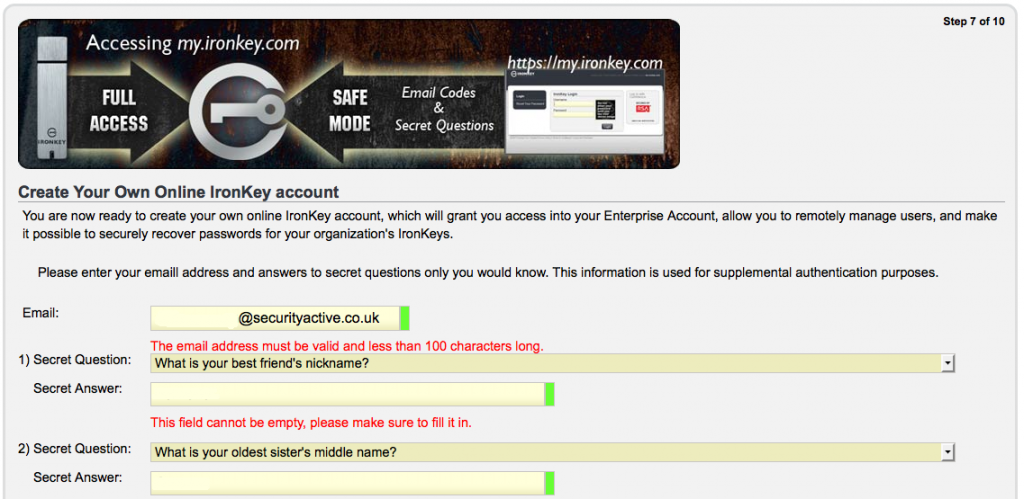
Step 7 – Time for some challenge response info, for when we forget ourselves.

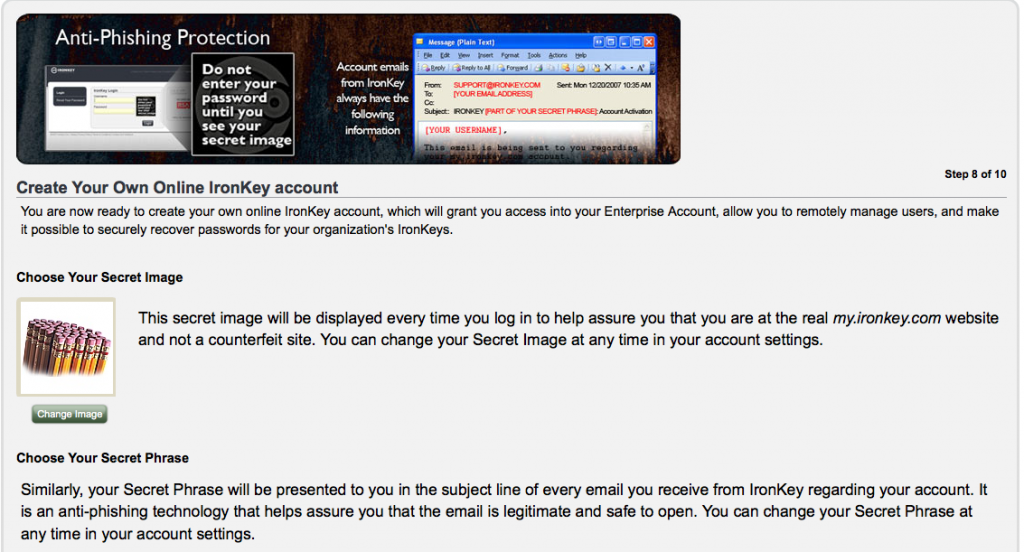
Step 8 – Now to create your secret identification image to ensure your at the REAL Ironkey admin page.

Step 9 – Creating your backup sys admin account.

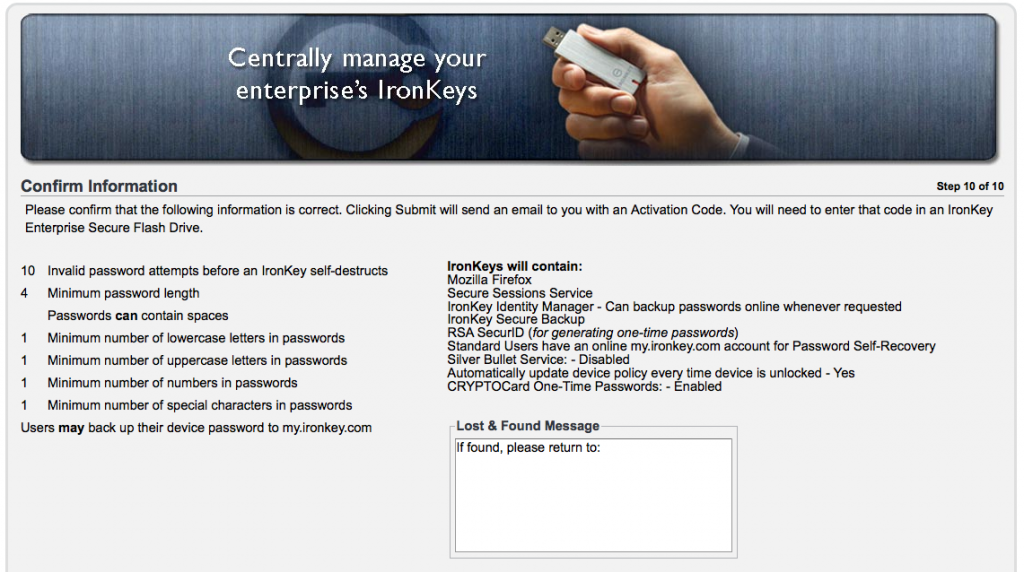
Step 10 – Confirming everything is just how you wanted it.

So now we have our admin account setup and our admin Ironkey associated. So lets take a look at what we can do at the web interface. Its important to understand that logging into your management interface requires two factor authentication, so not only your username and password, but your Ironkey also. If you dont have your Ironkey you just get into the Safe Mode option.
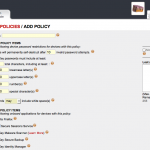
So when we login with the Ironkey we get all the good stuff, user management, policy creation alteration, alerts, log information and more. Things are pretty self explanatory, so here is a screen shot montage.

Now we can continue to activate our Ironkey, as we have created an account, and associate policy.

Now we setup a name for our Ironkey and a strong passphrase.

The key is then initialised and encrypted.
Then then if the user doesnt already have an online account, they are prompted to create one.

Now the user is good to go, the policy will have been applied, applications made available and secure storage created.
If the user is also an administrator they get access to admin tools from their Ironkey also, allowing them to recover data from other Ironkey, reauthorise, etc.

Below are also some screen shots of an Ironkey that has been assigned a Silver Bullet Policy meaning it cannot be used unless it is connected to the Internet for authentication, and a device that has been disabled.

Here is the control panel a user see’s on a Mac and PC, do control panel is currently available to Linux users.

Its pretty clear that PC users currently get better percs from the Ironkey, but regardless of the plaform your getting some awesome secure storage. I am really impressed with the simple yet appropriate level of control the Ironkey Enterprise solution gives, and I dont think I would hesitate to recommend this to a customer. I will say that I had one device get stuck in some sort of authentication loop, but Ironkey support where extremely helpful, and the few things we tried didn’t work so they sent out a replacement by Fedex.
Ironkey also offer pretty much the same offering but for personal users, and I will be putting up a similar mini review of this offering later in the month.

For more information on the Ironkey offerings, and to locate your local reseller visit the Ironkey website.

I will leave you with a short video clip I made, testing the waterproof theory of the Ironkey S200.

Waterproof Testing

My not so evil maid – Truecrypt encryption attack

Joanna Rutkowska of The Invisible Things Lab recently made an interesting post on her blog about the work they have been doing to capture the passphrase of users using TrueCrypt full disk encryption.

Due to the requirement for physical interaction to plug in a USB device, they have coined this the Evil Maid attack. The scenario being that a maid in a hotel with evil intent gets upto no good with someones laptop who is staying in the hotel.

Look out Evil Maid is about

Look out Evil Maid is about

How the Evil Maid USB works
The provided implementation is extremely simple. It first reads the first 63 sectors of the primary disk (/dev/sda) and checks (looking at the first sector) if the code there looks like a valid TrueCrypt loader. If it does, the rest of the code is unpacked (using gzip) and hooked. Evil Maid hooks the TC’s function that asks user for the passphrase, so that the hook records whatever passphrase is provided to this function. We also take care about adjusting some fields in the MBR, like the boot loader size and its checksum. After the hooking is done, the loader is packed again and written back to the disk.

Its my belief that this sort of solution could be used to bypass other full disk encryption products that dont use a TPM (Trusted Platform Module).

This does look like a really interesting project, but for one reason or another I cant get my evil maid attack to work. I have tried to create a couple of USB drives, but all of them just end up with a flashing cursor at boot time, and thats it.

When I get this working, I will post an update. For now enjoy reading the informative blog post from Joanna.